
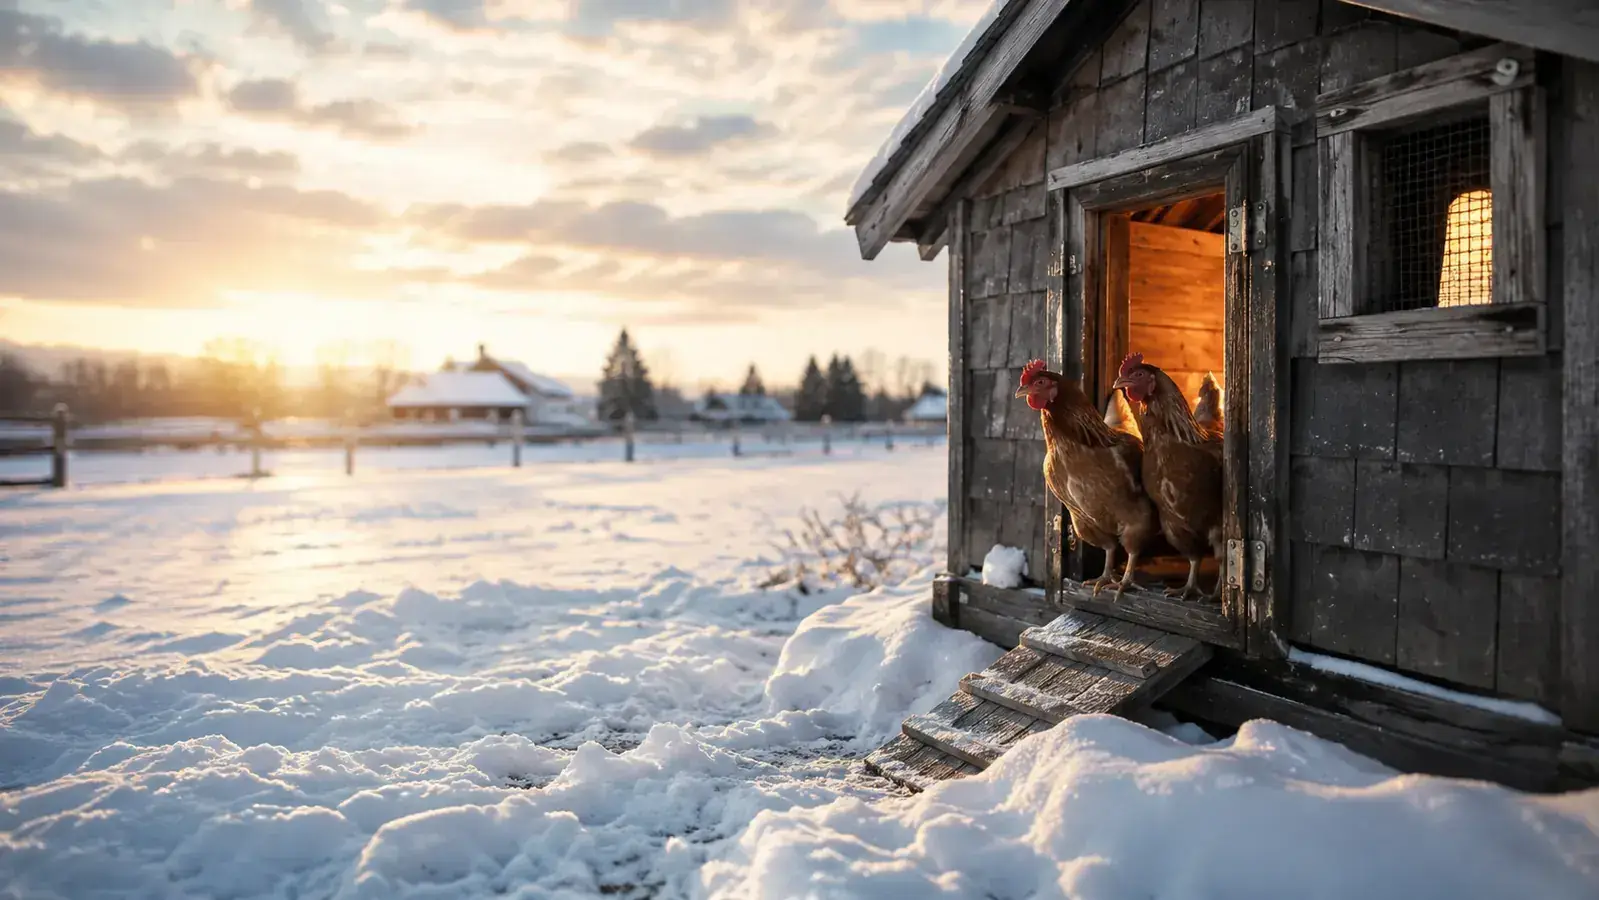
If you are standing in the feed store aisle in November staring at a rack of red heat lamps, then you already know the problem. Your water dish is a solid block by seven in the morning, your hens huddle on the roost with their feathers puffed like they have something against you, and the coop feels like a refrigerator somebody expects the girls to sleep in. Maybe you already tried what your neighbor swore by, the lamp clipped over the roosting bar, the one that throws that oily orange glow. So did I. Our dog Rocky bumped the feeder one January morning and sent a spray of dry shavings up against that bulb, and that was the last heat lamp we ever ran in the coop. I had known about the Cozy Coop flat panels for a while, the ones that stay cool enough to touch, but it took that scare to make me finally look past the rack of red bulbs.
I am not going to tell you that chickens need a toasty barn. They do not, and heating the whole coop is how you raise a bird that cannot handle a normal cold snap. What your flock actually needs is three things: a warm spot they can stand under when they want it, water that did not turn to ice, and air that stays dry without turning into a draft. That is the whole job. So here is the routine I have used through our Missouri lows, the way I heat a chicken coop without hanging a fire hazard over dry shavings.
Heating the Roost Without Heating the Whole Coop
The Cozy Coop flat-panel heater is the piece that let me retire the heat lamp for good. It is a slim electric panel that throws radiant warmth at whatever is closest, which in a coop means the birds on the roost, not the whole barn and not the dry bedding at their feet.
Amazon Check Today's Price on Amazon -> →Step 1: Know What Your Chickens Actually Need in the Cold
Chickens run hot, about 107 degrees, and they wear a down coat. A healthy, well-feathered hen is fine down to around 20 degrees as long as she is dry and out of a direct draft. The trouble starts below that, or when the wind finds the cracks, or when a bird is old, sick, molting, or a big-combed breed that frosts easily. So before you buy anything, walk into the coop and look for the real problem. Is the water freezing? Are the birds shivering or sitting tight against the wall? Is there frost on the roost bars? Answer those honestly and you will know which fix you actually need, instead of guessing at a heater that cures nothing.
Here is what most first-timers get backwards: they try to keep the whole coop at room temperature and end up with condensation dripping off the ceiling, which is worse than cold. A damp bird loses heat far faster than a dry one at the same temperature. The goal is a coop that stays above freezing, because that solves the water problem, not a coop that feels like a living room. Once I understood that, the whole setup got simpler and cheaper at the same time, and I stopped wasting power warming square footage my birds were not using.
The place that matters is the roosting bar. That is where your birds spend fourteen hours a night in January, huddled together with their feet tucked into their feathers. Warm them there, at their feet and bellies, and you do not need to warm the square footage around them. That single idea is what the whole flat-panel approach is built on, and it is the difference between a sensible winter coop and an expensive, damp one.
Step 2: Choose a Heat Source That Will Not Start a Fire
This is the step I care about most, because I have the singed shavings to prove why. A heat lamp is a bare bulb, often 250 watts, glowing at three or four hundred degrees, mounted over a bed of dry, flammable litter in a building full of curious birds and the occasional bumping dog. Every coops-and-keeping forum has a thread that ends the same way, with someone describing the morning they walked out and found a different coop than the one they left the night before. The conventional wisdom says clip it high and use a clamp. I say why gamble with a bare bulb at all when there is a safer tool for the same job.
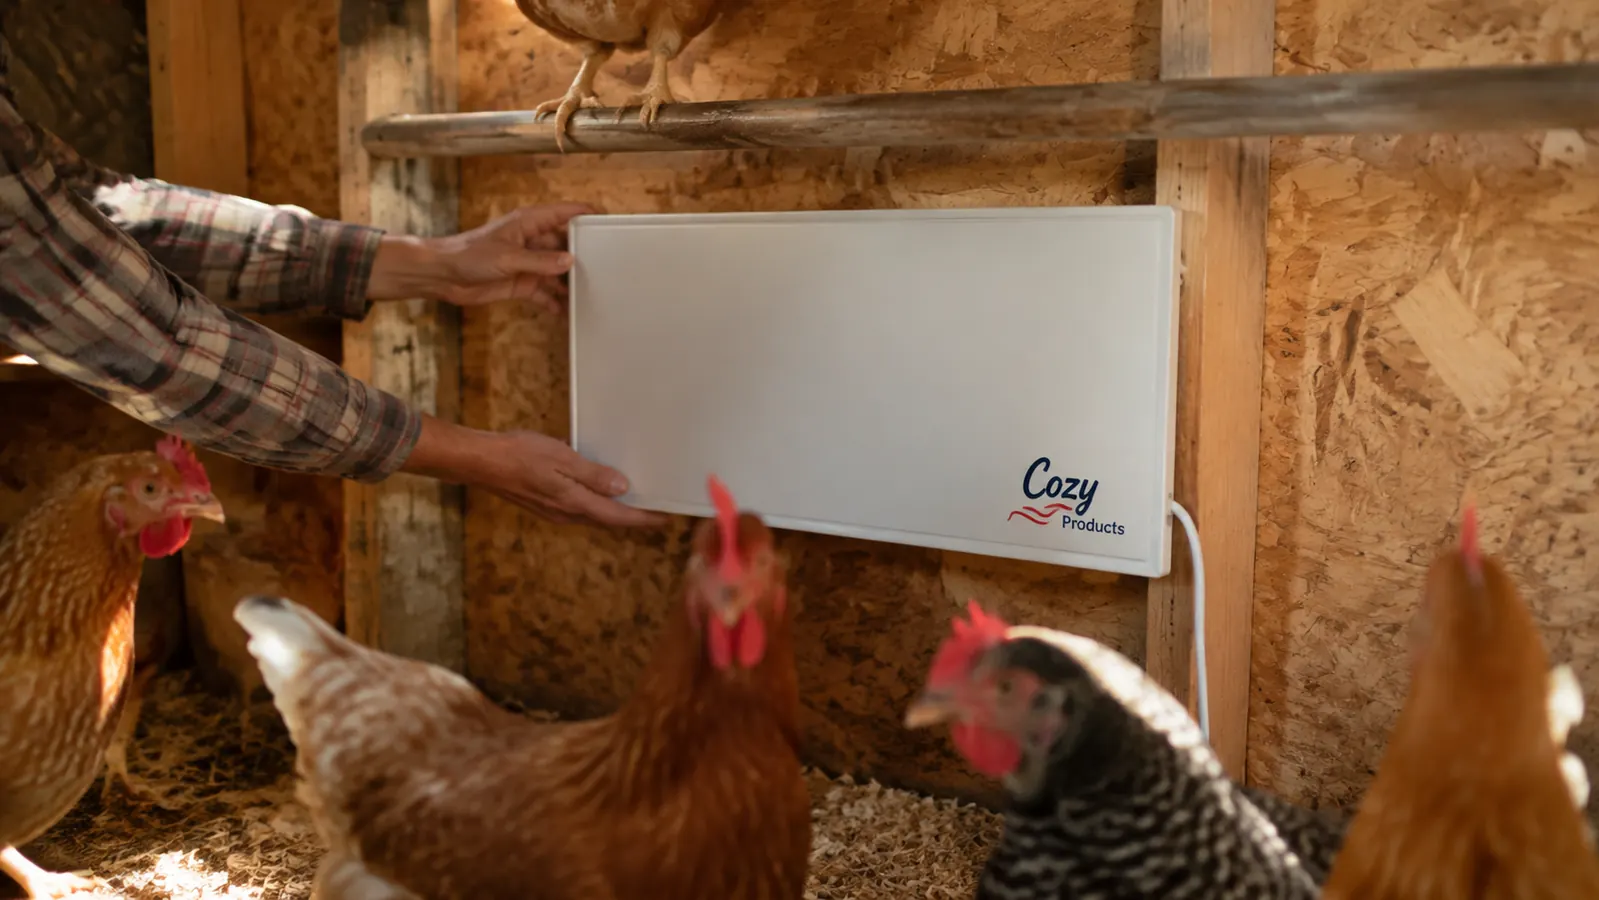
The Cozy Coop I run is a flat-panel, 150-watt heater, about two inches thick. The whole face is the heating surface and it stays cool enough to touch, which means it only warms what is directly in front of it near the roost and cannot ignite the shavings under it or the straw behind it. No exposed bulb, no glass to shatter, nothing to knock loose. Mounted flat against the wall beneath the roosting bar, it throws radiant warmth up at the birds standing over it, and the surface never gets hot enough to singe a feather, much less start a fire.
I am not here to pretend the Cozy is the only flat panel on the market, but it is the one I have trusted for two full winters now, and it is the brand I point people to because it has thousands of reviews and a plain record in cold coops. It runs on a normal outlet, draws about as much as one good space heater on its low setting, and for a dozen hens one Cozy panel under the roost is plenty. The Cozy also hangs on the wall or sits flat on the floor, so you can fit it to whatever coop you already own, and it has a reputation for outlasting the average henhouse hardware. If you already own a heat lamp and it has not burned down your coop yet, count that as luck you should not push.
Step 3: Mount the Panel Under the Roost, Out of Reach and Dry
Where you place the panel matters as much as which one you buy. On our coop I mounted it flat against the inside wall, directly beneath the highest roosting bar, with the front edge angled slightly so the warmth washes up over the birds standing there. The key is that it sits at the birds' level, close enough for them to feel it, because radiant heat works on whatever is closest. A panel mounted high against the far wall is just an expensive way to warm the air it happens to touch, and it will not earn its place in the coop.
Out of reach means exactly that. Position it so no hen can stand on top of it and no rooster can use it as a perch, because their feet are how they explore everything. And it has to be somewhere dry. That flat panel does not care about a little condensation, but you should still keep it clear of leaking water and out from under a dripping roof line, and route the cord so nothing chews on it. I run ours to a covered GFCI outlet and keep the cord clipped up off the floor and out of the bedding, so a wet night never turns an outlet into a problem.
Start the panel before the first hard frost, not the morning the roost wears frost. Chickens adjust to the cold gradually through fall, and a hen that can choose a warm spot all season handles a January dip far better than one that meets the heater for the first time in a blizzard. I put ours in around the first week of November and leave it there through March, night and day, no fiddling with it. The less you touch it, the less can go wrong.
Step 4: Keep the Water From Freezing
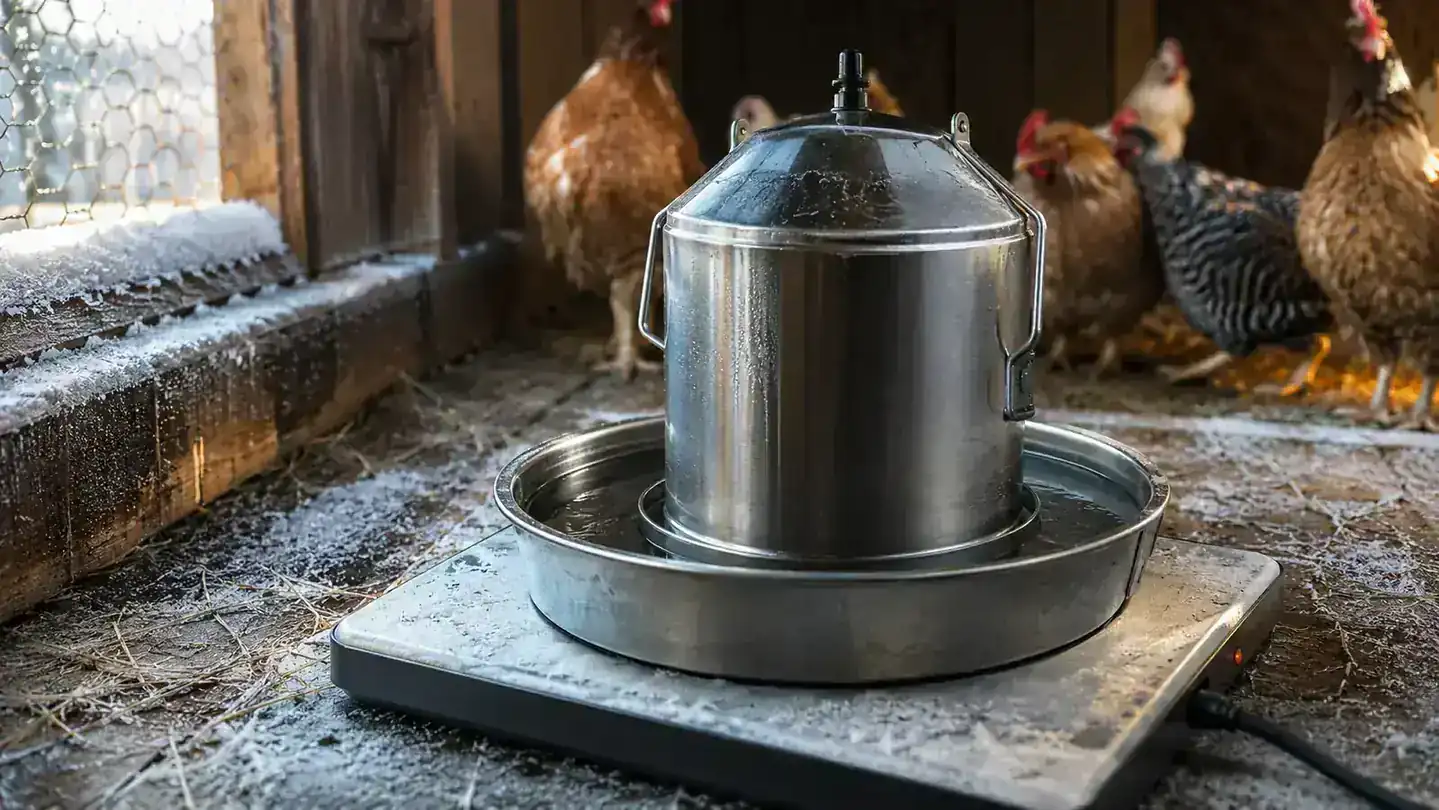
The flat panel under the roost does a little for the water dish nearby, but if I were being honest it is not enough on the worst nights. So the waterer gets its own job in this routine. I use a stainless poultry waterer set on a heated base, and it sits on the floor at the far end of the coop where the birds drink during the day. That base holds the water just above freezing, which is all you need. Chickens will go without water for a day and not look it, but they lay less and drink far less than they should, and a dehydrated bird in winter is a stressed bird.
If you run a heated base, check the cord the same way you check the panel, keep it off the moist bedding, and make sure the base matches the metal or plastic of your waterer so the bottom actually warms the water and not just the space beneath it. Some folks swing open the coop door in good weather and let the sun help, but I do not rely on the sun in January. The heated base runs all winter and I top off with lukewarm water on the coldest mornings, never hot, because a sudden hot drink does a bird no favors and a stressed gut helps nobody.
Step 5: Ventilation That Does Not Turn Into a Draft
This is the step that keeps whole flocks alive, and it is the one people skip because it sounds backwards. A closed-up, unvented coop traps the moisture from dozens of warm birds breathing and pooping all night, and that moisture condenses on the cold ceiling and drips down onto feathers. A cold, damp bird loses heat fast, frosts on combs and feet, and runs a real risk of respiratory trouble. So in winter I do the opposite of what feels natural: I keep the coop ventilated up high while sealing the drafts down low where the birds sleep.
Air vented near the roof line lets the warm, wet air escape, and it does the birds no harm because they do not sleep up there. The insulation and the sealing belong at the base, around the roost, where the draft would hit them. Read that once more because it is the whole trick: vent the top, seal the bottom. In practice, for us, that means a wire-covered vent near the peak that stays cracked all winter and a tight door and base that keep the wind out at bird level. A coop can be dry and draft-free at the same time, and that is exactly the balance you are aiming for.
Vent the top, seal the bottom. A damp bird loses heat faster than a dry one at the same temperature, so the frost on the ceiling is not the benign thing it looks like.
What Else Helps
No heater fixes a coop that is leaking, full of damp bedding, or short on food. Before winter lands I make sure the roof does not drip, I patch any gaps at the base with caulk and patience, and I switch to a deeper dry bedding layer under the roost so the droppings pile up dry instead of soggy. My flock also gets a little scratch grain in the evening, because digesting it raises a hen's body heat overnight the way a heavy meal warms us, and I check their combs and feet on the bitter mornings for frostbite. A dab of petroleum jelly on a frost-prone comb goes further than any amount of extra heat.
And I keep the routine boring on purpose. The Cozy panel goes on before the first frost, the heated base runs all winter, and I resist the urge to overdo it. A warm, dry, vented coop with unfrozen water and a full feeder will carry a healthy flock through a Missouri winter every single year. That is the whole thing, and it does not have to cost a fortune or keep you up at night worrying about a glowing bulb over the straw. Set it up once, check it a handful of times, and let the birds do the rest.
Retire the Heat Lamp Before It Retires Your Coop
The Cozy Coop flat-panel heater warms the roost, stays cool to the touch, and does not hang a glowing bulb over dry shavings. That is the upgrade I wish I had made the winter before the scare.
Amazon Check Today's Price on Amazon -> →